
The first ever Ten Thousand Too Far rock climbing trip report! To date this blog has focused primarily on skiing, but since I love climbing and can’t imagine taking five months off from writing these stories, it seemed only fitting to shift gears! Enjoy this summertime story of an early season alpine adventure on one my favorite and largely undervalued Teton Peaks – Cloudveil Dome!
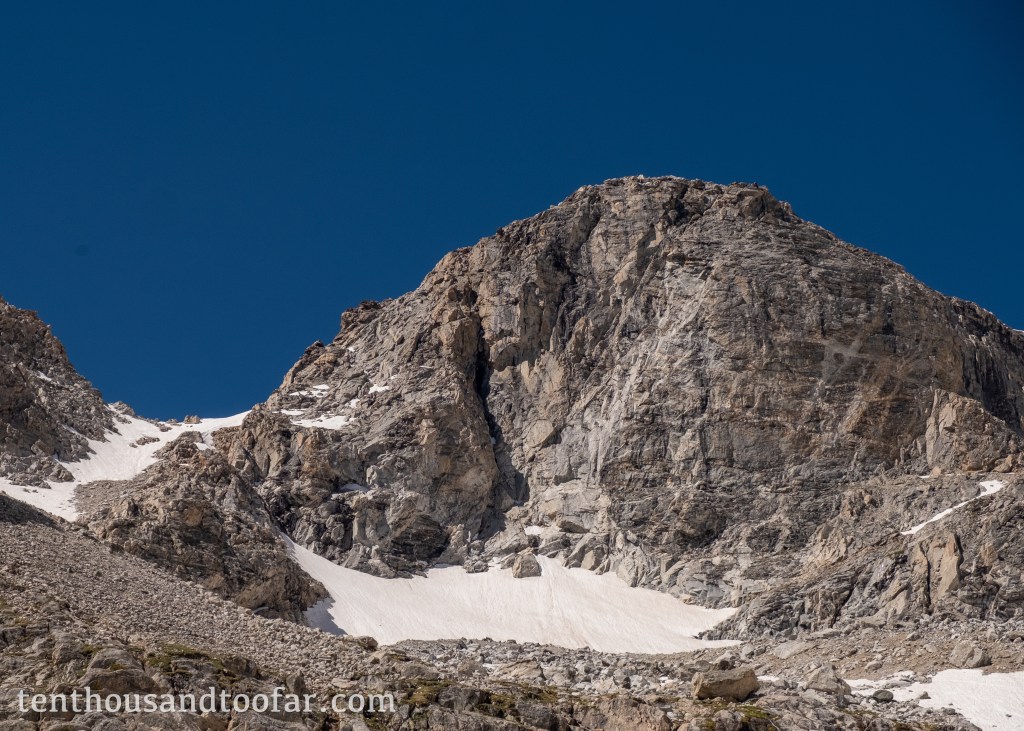
At 12,031 feet, Cloudveil Dome is a significant high point of the Teton Range, but with only a smidge of prominence from Spaulding Peak to the west, it easily blends with the skyline to the untrained eye. Viewed from Garnet Canyon, Cloudveil is the first peak west of Nez Perce. There are no common routes (to my knowledge) on the notoriously loose north face, but several famous moderates adorn the south, beginning at 5.8 and ranging as high as 5.10/5.11. These routes are outside the scope of this article, which instead focuses on the easiest and most common summit route, the East Ridge. According to Aaron Gams’s Teton Rock Climbs, the route is a 585 foot fourth class scramble. The “Teton standard” Ortenburger guide reports fourth class with a “5.1 flake crux.” Given the wandering nature of the route, and the notorious stiffness of “Teton” fourth class, I treated the East Ridge with far more seriousness than other scrambles, and am certainly glad I did.
Love Ten Thousand Too Far? Used it to fuel an amazing adventure? Support independent mountain journalism with $5.10 per month through Patreon (and receive extra bonus content), or with a one-time donation. Any and all support is greatly appreciated.
Approach
Approaching the East Ridge follows the standard track into Garnet Canyon’s South Fork. There is almost always a very prominent trail. Once gaining the headwall to the south of the Cave Couloir, an obvious north facing couloir that holds snow well into July will come into view, forming a direct pathway to the saddle between Cloudveil and Nez Perce. Traveling in late June, there was still significant snow barring a clean approach. In later months, a rib on the west of the couloir provides mostly (or entirely) snow-free access to the col. I partook in a mix of snow wandering and front-pointing, opting only briefly to climb the half-melted rib when the snow turned exceptionally rotten. The saddle rises a mere 800-1000 feet from the belly of Garnet, a modest price by Teton alpine standards. With a laissez-faire pace I topped out the 11,400 saddle around the four hour mark, promptly greeted with marvelous views in every direction.
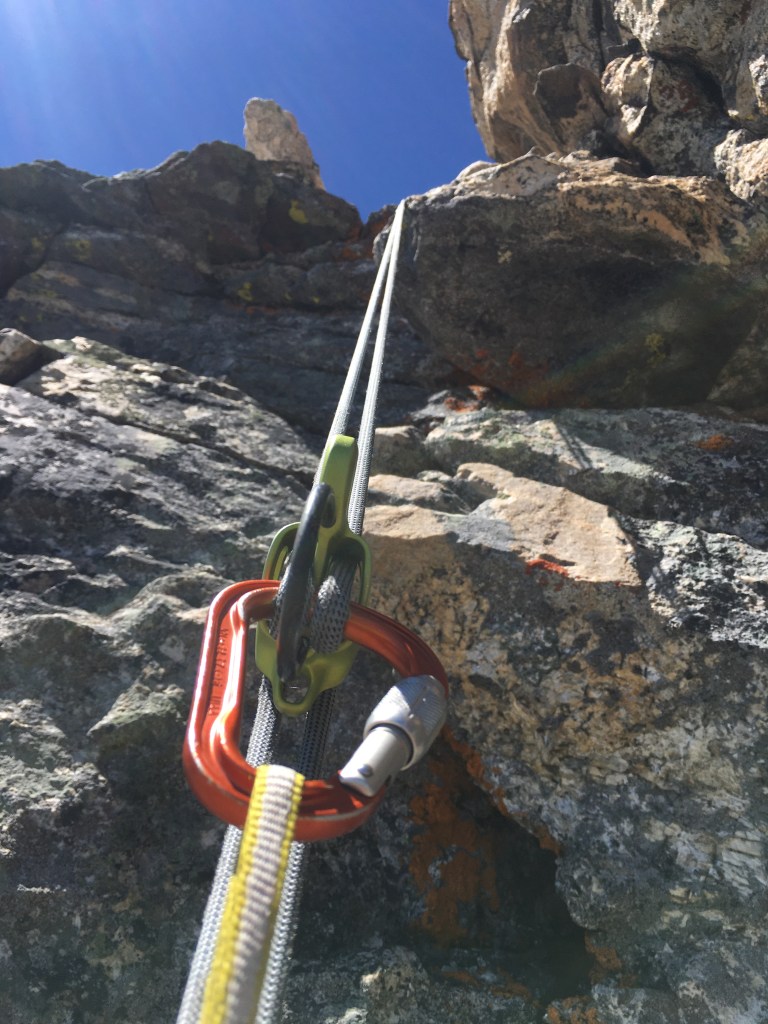
I was standing in the same spot with a pair of skis ten days earlier. Drew Grasso and I planned a multi-sport adventure to climb the East Ridge and ski-egress via the approach (north) couloir. Unfortunately the route still held some snow, and the combination of seeping rocks, wet soles and heavy packs forced retreat only a few hundred feet up. In my opinion, fourth class is a largely under-respected grade. To my knowledge, the majority of mountaineering accidents occur on fourth and low fifth class routes. For the adventurous scrambler, and especially the seasoned rock climber, fourth class becomes rudimentary and as such, is commonly “soloed” – in simpler terms, climbed without a rope or protection. Basically, fourth class translates to very easy climbing with very significant exposure, scrambling and occasionally light technical climbing with almost certain death as the cost of failure. To the layman, “roping up” would seem the sane choice, and sometimes is for the inexperienced party, but for the well versed this level of protection is most often unwarranted, as it comes with the cost of greater pack weight, loss of valuable time and sometimes painful redundancy. As a climber and ski mountaineer I am very comfortable on exposed rock, and as such, set off for the journey alone. However, despite being commonly criticized as overly-cautious, I packed the usual backup webbing, rappel ring, rope and feather-light skimo harness that always accompanies my first time alpine endeavors.
The Route
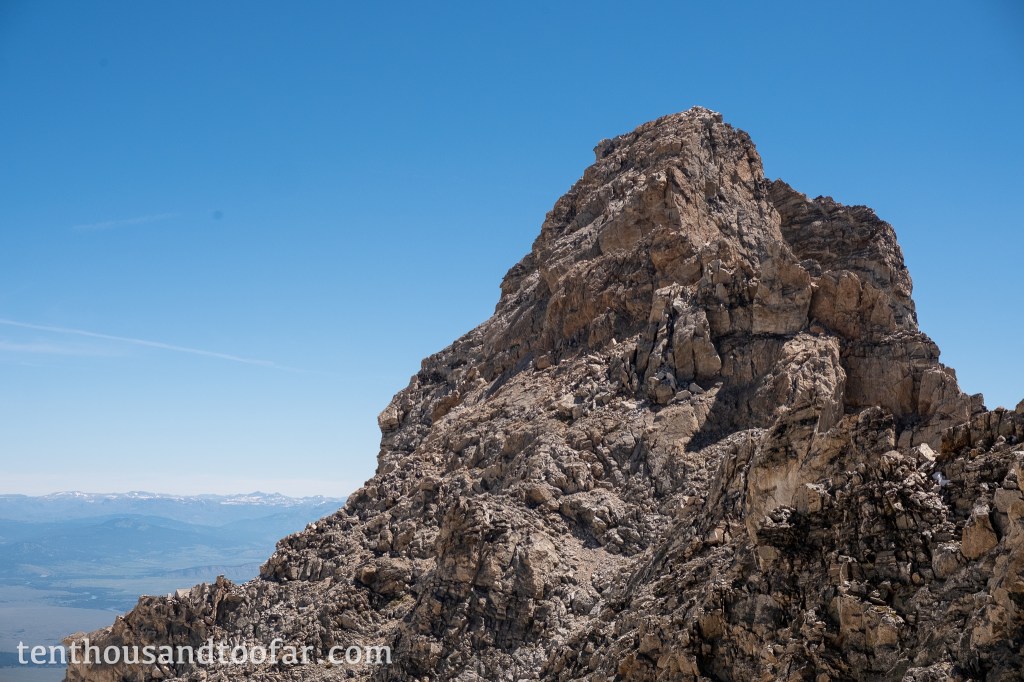
The East Ridge had completely baked dry in the last week, a welcomed sight. The route can be easily broken down into four distinct sections. I’ll breeze through each “pitch” quickly for the aspiring climber seeking beta, including my own personal opinion on grading. Labeled pictures below!
- PITCH ONE (4th)
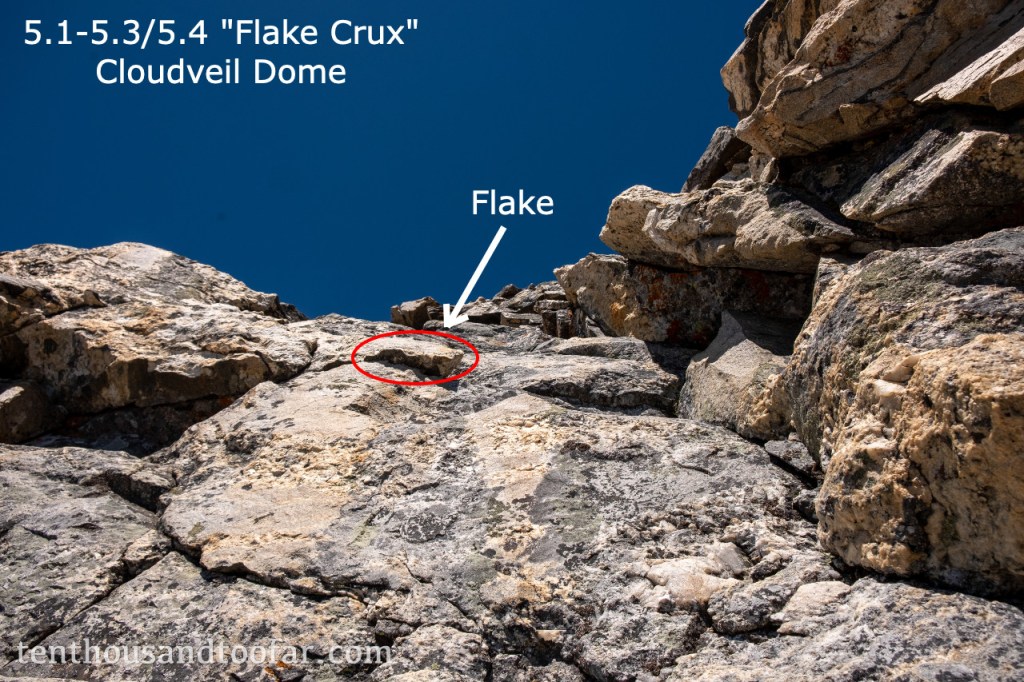
- Scramble directly up the east ridge (maybe 200 feet) on ledgy and slabby terrain, following the path of least resistance. I found the corner on climber’s left most secure, but eventually it pushes you out onto the slabs. Once the terrain becomes noticeably steeper and more difficult, a prominent traverse south (left) will become clear. This ledge traverse is very wide and bisects a cliff below and an obvious black prow above. On the immediate south side of the obvious pillar above, three black rock “steps” will allow passage to a small grassy ledge. The “5.1 flake crux” referred to in the Ortenburger guide is directly above in the center of the slab (see photo below).
- PITCH TWO(5.1-5.4)
- A short slab leads to a left trending flake with very positive hands and terminates in another small slab, also with positive hands. The entire “technical” section lasts a mere 15-25 feet, but nonetheless, a fall here would be life threatening. To my knowledge this is the section that took the life of Heather Paul, a storied Jackson alpinist, who slipped while down-climbing the East Ridge a few years ago. Maybe it was the mountain boots or the “first alpine climb of the year” jitters, but I felt the “5.1 flake” climbed more like a 5.3-5.4, requiring some exposed smearing and a “boulder-y” mantle that might not be intuitive to the non-climber. If I were to belay any section, this would be the one. Several cracks and blocks exist on the ledge above for a gear belay, and cracks to the right would probably take medium to small pieces. There is a slung-block anchor to the north above, but this should not be used to belay. Several loose rocks are delicately balanced on the ledge, and if the follower were to fall it is likely these death blocks would be sent careening down the mountain. Read more about this later on. All things said, I pulled over the crux without a raised heartbeat and traversed right above the prow to reach pitch three above.
- PITCH THREE(4th-5.5+)
- After many minutes of scouting, I found four options. About 50 feet to the right and 50 feet up two distinct “chimneys” become evident. The first is a black rock corner that looked 5.7 or beyond – just a guess, I didn’t bother scouting it and cannot recommend it. The next to the north is a small gully/chimney with a boulder chockstone at the top. I chose this path of ascent, and would rate it fourth class with a brief but committing 5.5 stemming mantle (one move). Though probably not technically the easiest choice, I found the movement most secure. Back to the left, between the black rock corner and the 5.5 chimney is a short arete’ that probably climbs slightly easier, but is outrageously more airy and psychologically demanding. However, with several cracks for good protection this could be a fun option for a roped party, and was actually how I opted to down-climb instead of reversing the chimney mantle move. To the furthest north is option four, a washed out rain gully with mostly fourth class terrain. A wicked slabby tumble threatens below. I could see a faint climber’s trail indicating evidence of a route, but something about the dirty ledges and slabs turned me off. Pick your poison and proceed onto easier ground above.
- PITCH FOUR(3rd)
- Stay true to the ridge and romp up the boulders! Avoid getting sucked south.

Descent
Reverse the route. I heard rumors of two rappel anchors but found exactly zero. As stated above, I chose to down-climb the exposed arete’ because the feet and hands felt much more secure than the chimney. The movement felt wicked, wild and free. Thousands of feet of air dropped off into Avalanche Canyon below as I delicately swung from flake to jug to flake to jug. I felt like an alpine King Kong. Below I traversed back to the flake crux and stared blankly at the short but stout slab. I rehearsed the moves for a second, but then my rational mind kicked in. I imagined a tomahawk into Avalanche Canyon below, and as I got set to down-climb I had second thoughts. The hands didn’t look secure enough to nail my footing with confidence. Instead, I scouted a decent sized block pinned from above perfectly suited for an anchor (the station I warned not to use for belay earlier). I wrapped a thin 1/2” strand of red tubular webbing around the constriction and threaded a brand new rappel ring, tied and backed up with two overhand knots (6/21/21). I draped the rope very delicately over the death blocks directly fall-line, to the north of the flake crux, and made sure there were no climbers beneath. I rappelled to the first ledge and hid beneath a cave as I pulled the rope gently. If anyone is to use this station, it is critically important to mindful of these blocks. The cave is a mighty handy hideout when pulling the rope. A rappel to the lowest ledge might seem enticing, but changing the rope angle could threaten the blocks. Proceed with caution.
From here I down-climbed with ease, but several monster spikes would provide bomber sling-anchor opportunities for rappelling or even lead protection. All in all, I had a wonderful time wandering the East Ridge of Cloudveil Dome. From saddle to saddle I clocked a turtle-like three whole hours, albeit including a generous lunch break on the summit. With dinner party plans just hours away I bailed on my initial mission to scramble up Nez Perce and took immediately to down-climbing the approach couloir – much less fun than the skiing last week. A slushy egress brought me to the meadows in an hour, and by dirt trail I reached the car in less than three.
Summary
Ultimately, I second Aaron Gams’s opinion that the East Ride of Cloudveil Dome is an excellent early season training objective or short day mission. For the seasoned Teton alpinist, rope-less travel would likely be a breeze. For the even slightly apprehensive, a 40M rope and a very light selection of protection focusing on small-medium pieces is not a bad idea. A short rope alone and some emergency anchor-building material could be a nice insurance policy for the descent. Contrary to guidebooks and mountain project, I would stack the East Ridge right alongside the Grand Teton’s Owen-Spaulding route (5.4). Perhaps the climbing is a smidge easier, but the exposure is arguably more sustained and the route finding undoubtedly more convoluted. Total linear travel was 16.1 miles. Allow some extra time to meander with a reliable topo. I recommend Aaron Gams’s Teton Rock Climbs. Cheerio!
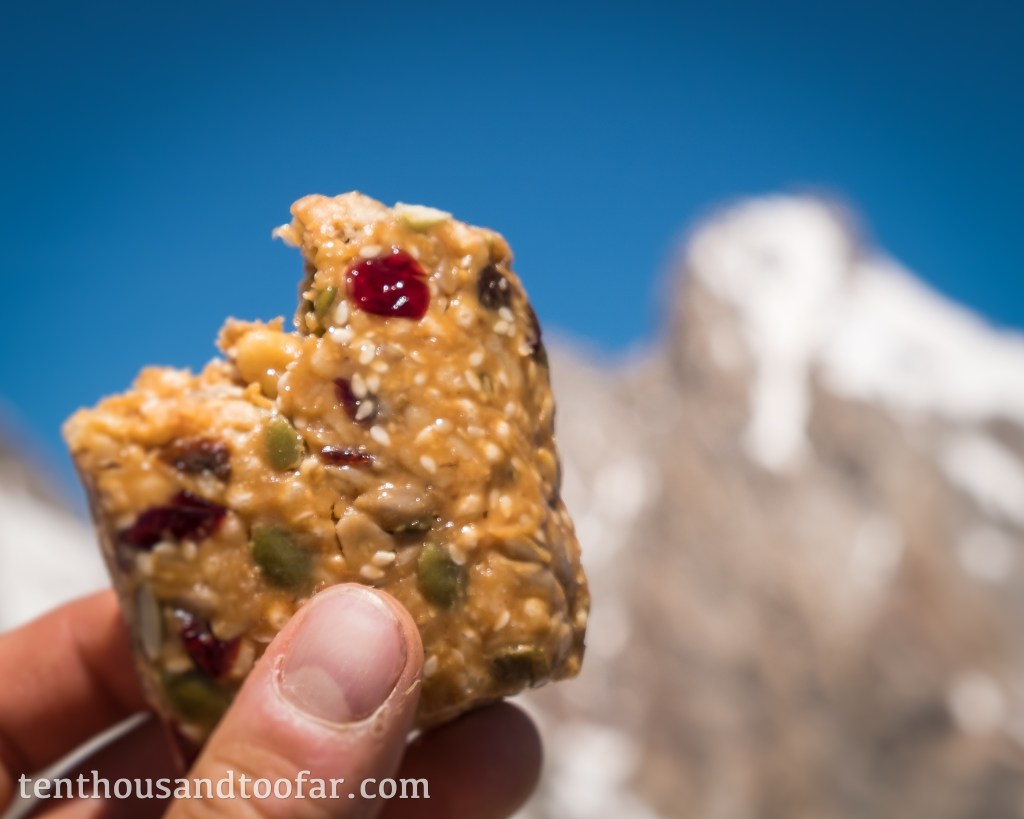
As always, a huge shout-out to my sponsors Icelantic Skis and Chasing Paradise Energy Bars – find Rob Dupre at the Teton Valley farmers market for all your organic bars, condiments, walnuts and hard cider!
If you enjoyed the story or just want more beta delivered straight to your inbox, subscribe below!
Follow on instagram at @brandon.wanthal.photography

DISCLAIMER
This article is written about free-soloing, the art of climbing without a rope. I do NOT encourage this activity. However, free-soloing is an inevitable part of climbing and mountaineering, and probably the most common form of travel on the East Ridge. Any information presented in this article is for informational purposes only. If you decide to attempt anything you read about in this article, you are doing so at your own risk.
